- Click the Text tool button to select the tool
- Move the mouse cursor over the tag image until it points to the desired
location of the lower left corner of the text field
- Click the left mouse button to add the field.
Alternatively, you can click the mouse down and drag it to set the text field's
initial size and rotation angle.
Once the field is added to the layout, you use the Properties Editor to change
the field's properties.
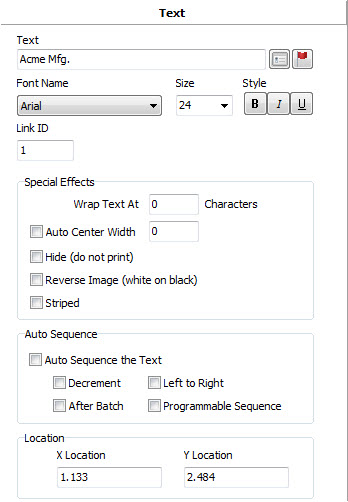
Each text field is defined by several pieces of information that you must supply.
This information includes:
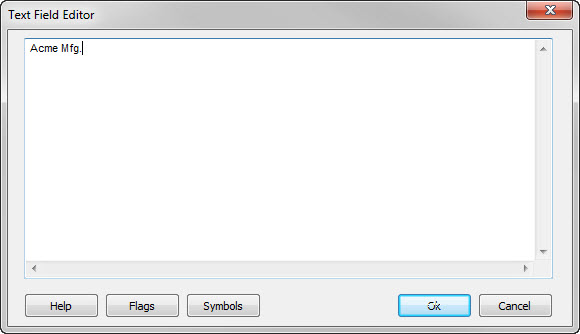
Text This field defines the text to be printed. You may enter the text
directly in this field and press the Enter key, or to perform more advanced
editing you can click the ellipsis button to the right of the text to open the
Text Field Editor. Note that the text can contain certain special flags for
automatic data insertion.
Font Select the name of the font for this field.
Size Enter the point size for the text.
Bold Enable (true) bold style for the text.
Italic Enable (true) italic style.
Underline Enable (true) underline style.
ID The ID must contain a number that is a unique identifier for this text
field. Barcode fields use this number to link to the text.
Wrap Count The text may be too long to fit within its
allotted area and
you may want it to automatically wrap on word boundaries. Enter the maximum
number of characters to allow on a single line and the text will wrap when it
reaches this limit. You may need to experiment with this number to obtain an
optimal setting, since variable width fonts require different space for some
characters.
X The X coordinate of the lower left corner of the text. This field was
initially filled in for you based on where you clicked the mouse.
Y The Y coordinate of the lower left corner of the text. This field was
initially filled in for you based on where you clicked the mouse.
Auto Center You can enable (true) or disable (false) the ability of the
field to automatically center the text within a given dimension. Specify the
size of the centering area using the Auto Center Width property defined below.
Auto Center Width When auto centering is enabled, you must specify the
width of the field in which the text is to be centered. Enter the width in
inches or millimeters as appropriate. Note that the actual text width must be
less than the auto center width for the property to be valid.
Hidden You may hide (true) or display (false) the text. Hidden text
appears in the designer, but is not printed.
Reverse You may reverse (true) the printed image and achieve white text
on a black background. Set to false for normal text.
Striped To reduce the time it takes to print a text field you can enabled
the "striped" property. When text is striped every other scan line is removed
from the image. Note a striped text field may not be displayed in the
Designer when the zoom factor is not 100%.
Auto Sequence A text field can have its contents automatically sequenced
by setting this property to true. When enabled, the following four fields
control how the text is sequenced.
Sequence Left to Right When enabled (true) the leftmost character
sequences first, then to the right.
Sequence Decrement When enabled (true) the text sequence decreases. When
disabled (false) the text increases.
Sequence After Batch When enabled (true) the text is sequenced after each
batch. When disabled (false) the text is sequenced after each print cycle.
Sequence Programmable Enable (true) the use of a programmable sequence of
alpha-numeric characters. The actual sequence of characters is defined in the
User Tables editor for the layout.
|